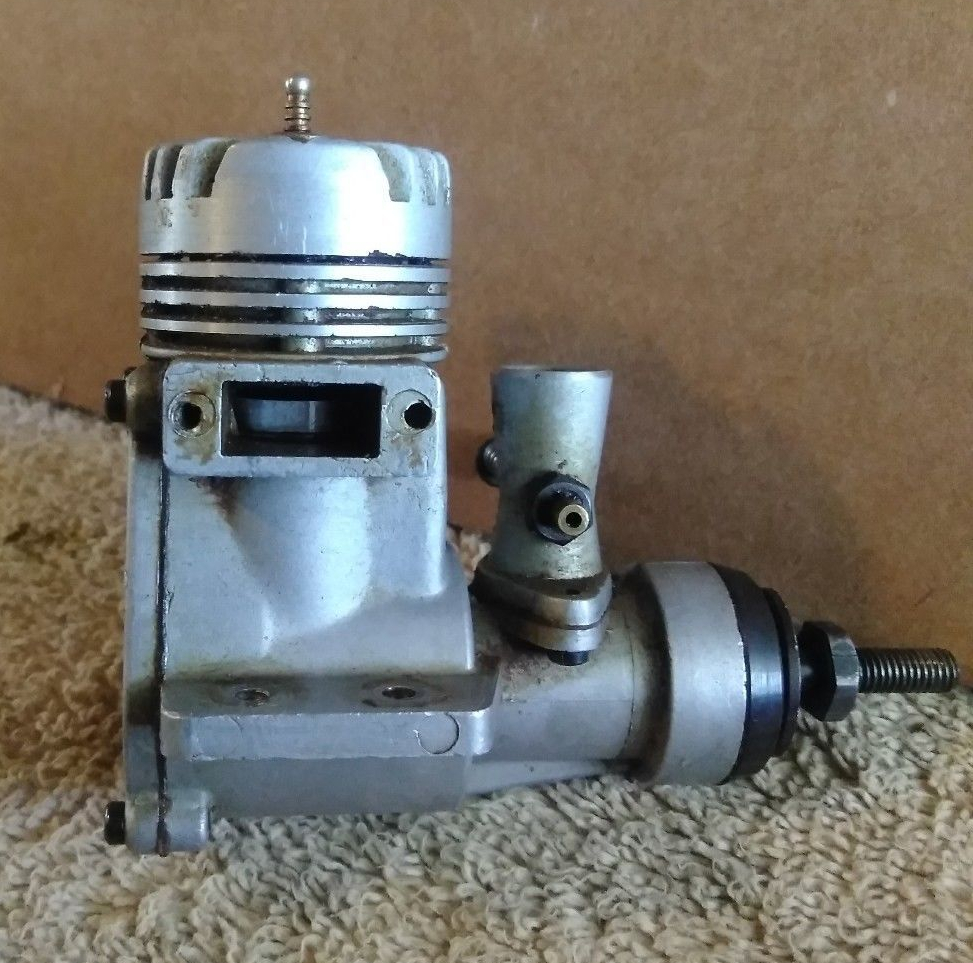
I decided to write this after I saw a video on YouTube on how to start an RC glow engine that would, in my opinion, be better titled “How not to Start an RC Glow Engine”. The demonstrator did not know how to prime the engine and jammed the starter on to it for what seemed like forever until the poor thing finally submitted and started.
Firstly, a few terms used in this article and the following ones.
Flooded: There’s far too much fuel in the engine for it to start.
Lean: The needle setting is such that the engine is not drawing enough fuel (and oil!)
Prime: The act of drawing fuel into the engine so that it’s ready to start.
Needle Valve: The valve on the engine that controls the fuel/air mixture.
Rich: The needle setting is such that the engine is drawing more fuel than really necessary.
Both a lean or rich mixture will cause the motor to run at less than peak power but if the mixture is too lean then the engine will overheat and possibly seize. A rich mixture will cause the engine to misfire every other stroke known as “4 stroking” and will not harm the engine. For stunt flying the mixture is often deliberately set to 4 stroke.
Secondly, a few preparation steps that you can do at home.
Your propeller should be balanced to keep vibration down to a minimum. Excess vibration will shorten the life of your engine, aeroplane and I can’t imagine it would do radio gear much good either. Quite often I find, despite my best efforts, it necessary to balance my propellers several times before vibration is down to an acceptable minimum.
Once you’ve done that don’t just put the propeller onto the engine. Position it such that the propeller comes up to the engine’s compression in a comfortable position for flipping it. This is a matter of personal preference but I like the 8:10 (ten past 8) position. With electric starters, this is probably not so important.
If you’ve got a panel with an ammeter, like me, check the current required to make the glow plug filament glow orange. Most of my glow plugs are the same make so a single setting should suit. If I’m changing the model during a flying session I’ll turn the setting down before attaching it to a model so that I can bring it up to around 3 amps rather than finding out the setting is too high by blowing the plug when the lead is attached.
I’ll assume the needle setting is set more or less right. If not refer to the engine instructions if available. Otherwise generally 3 turns open from fully closed is a good place to start. I find that not much adjustment is needed between flying sessions. Once I’ve got a setting I’m happy with I’ll keep the adjustments small. You will need to adjust it now and then as the optimum setting depends on all sorts of things such as; the fuel tank and its position, propeller, altitude, ambient temperature and air pressure, humidity and fuel used. I have even found the length of lines used can affect the setting (when the model is flying). If you’ve changed any one of these then it’s likely you’ll have to adjust your needle valve setting. If like me you fly the same setup in the same place most weekends you’ll likely find that you shouldn’t need to change the setting much from week to week.
1) Prime the engine by placing a finger or thumb over the venturi and turn the engine over. Don’t do this with the glow lead connected, just in case it starts or kicks unexpectedly. The number of turns depends on the engine. Some engines like to be wet others don’t. Generally, 3-5 turns will be plenty. An inverted engine is much easier to flood so will need less priming. Remove your finger from the venturi and flip the propeller over a few times to distribute fuel in the engine. This method also works with an RC carburettor. If this method doesn’t draw fuel into the engine then it is likely there is a leak or blockage somewhere. If you’re not using a muffler you can, alternatively, also put a few drops of fuel into the exhaust port to prime it or squirt a few drops of fuel into the venturi and flip the engine over a few times.
2) Now we’re ready to attempt to start it. Attach the glow lead and hold the plane firmly with your free hand. Your helper should hold the fuselage of the plane and the outboard wing.
3) Use a finger protector; I use finger guards made by Kavan but any thick rubber pipe, such as a car radiator hose, that fits your finger should be OK. A chicken stick can also be used. Flip the propeller smartly with your protected finger using both your arm and wrist making sure that your finger moves well out of the way.
4) The engine should start after a few flips.
As you’ve probably guessed by now I don’t often use electric starters, I don’t own one. But given the way I’ve seen other people using them a suggestion, I would make, is don’t jam the starter onto the engine for long periods. If the engine doesn’t start after a few seconds then it’s not going to start at all with the current settings. Also using the starter for short periods often seems to work as well.


